5/15/2018

A Not So Clean (or Simple) CAS Card

Today is a new color challenge at CAS Colours & Sketches.  This week I had a tough time keeping it clean as I'll explain in a moment.  (And I'm guessing a few of you will be able to relate.)
The colors this week are:
My plan was fairly straight forward - stamp the daisy, stem and leaves making masks for all of them (the image is three separate stamps), leave the masks on and sponge the blue around the outside.  Stamp the bee, then color in the flower and bee using Copic markers. 

Well, after I had done all the stamping and masking I unknowingly swiped my hand across my black ink pad which I had neglected to cover, and then placed my hand on the card when I started to color it.  Soooo, I was back to square one - stamping and masking on a clean piece of card stock.  I got a bit further this time - I actually colored in the images when I touched my black ink pad.....
And you can see on the left side my smaller, but no less card ruining, ink spot.  So much for the CLEAN in Clean and Simple!

This time I was able to salvage things by using a stitched rectangle die and making the card front into a panel.  After this it was fairly smooth - die cut the "Bee" part of the sentiment along with the bee and adhered everything to the card.  I used Wink of Stella to add a little bling to the bee's wings.
 
Since this was a color challenge I matched the Copic colors using my color chart and the method I described in these two posts - July 23 and July 26.  I hope you enjoyed today's post and learned a few things - namely, cover your ink pads when not in immediate use!  LOL

Stamps and Dies: Honey Bee Stamps Busy Bees, and Bee-You-Tiful
Copic Markers: Y21, Y35, G43, N6, N8, Black
Ink: Pacific Point

Thanks for visiting today!  Click here to sign up for email notifications of future posts  (you will be sent an email to verify your address - don't forget this step).  Follow me on Facebook, Instagram and Pinterest.
post signature

5/11/2018

Lazy Daisy

Happy Friday!  Today's card is a great thinking of you card for anyone who loves flowers!
For the layout of this card I used the sketch challenge on Splitcoast Stampers this week.
I love sketch challenges - they save a lot of time in the craft room!  I started with an A2 card base in Night of Navy, one panel of patterned paper 4 1/4 x 5 1/2 inches, and two panels 3 1/2 x 4/3/4 inches.
I cut three flowers from white card stock, and the leaves and stems from Pear Pizzazz.  I used the Stitched alphabet to cut the word "Hi" and used the centers of the letters A, P and R for the dots.   I used a sponge dauber and Daffodil Delight ink to color the center of the flowers.

I glued the panels down according to the sketch and tied a piece of 12 inch gingham ribbon around the panels.
I added the flowers and sentiment then glued the panel to the card base.  My last step was to adhere a small daisy to the ribbon using a foam dot.

Dies: Cottage Cutz Stitched Tulip and Daisies and Stitched Alphabet

Thanks for visiting today!  Click here to sign up for email notifications of future posts  (you will be sent an email to verify your address - don't forget this step).  Follow me on Facebook, Instagram and Pinterest.


post signature

5/08/2018

Make Some Noise!

Hi everyone!  It's Tuesday and another challenge at CAS Colours & Sketches.  This week is a super fun sketch challenge from Cathy.
 I hope you'll join us this week.

My card was simple to make.  I colored all the images with Copic markers then cut them out slightly larger than the inside of the frame.  I couldn't decide what colors to use so I went with primaries - always a good choice for a gender neutral birthday card.

When it came time to glue everything down, I stacked three solid frames under each patterned frame to add depth, then glued the square with  the image to the back.  I also placed them slightly catty wampus on the card because I thought that accentuated the "make noise" theme.
Stamps: Mama Elephant Little Agenda Cat and Little Agenda Dog; MFT Jungle Vibes
Dies: MFT Stitched Frames
Copic markers: Cat W1, W3, W5, W7;  Dogs  E31, E51, E53, E33, E35, E37; Guitar B21, B22, B27, Y15; Maracas R21, R22, R27, B24; Tambourine E40, E41, E47; Shadows T0, T1
Paper: Stampin' Up! retired DSP

Thanks for visiting today!  Click here to sign up for email notifications of future posts  (you will be sent an email to verify your address - don't forget this step).  Follow me on Facebook, Instagram and Pinterest.


post signature

5/04/2018

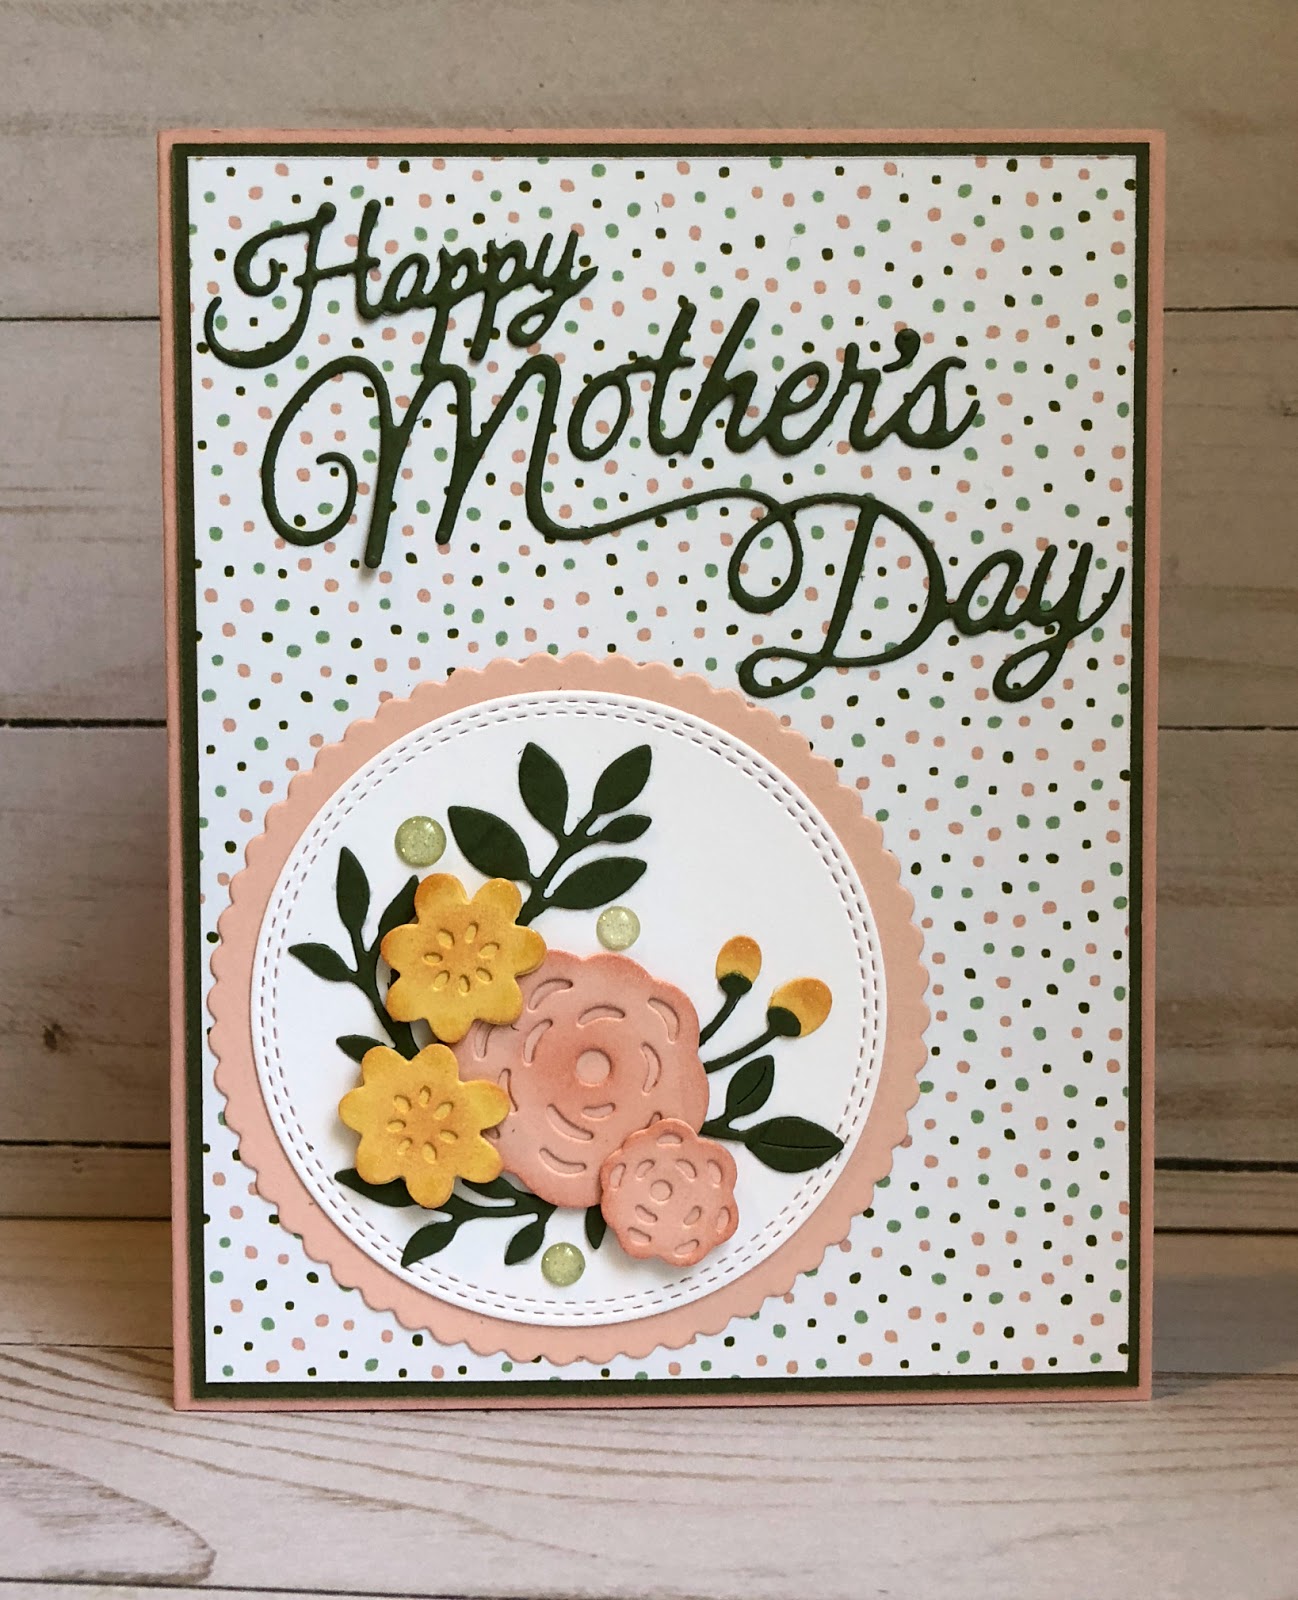
Floral Mother's Day Card

It's Friday and I have another Mother's Day card made from some of the beautiful new release dies from Cottage Cutz.
The card base is in Blushing Bride, then I added a panel of Always Artichoke and a panel of patterned paper.
For the medallion I cut a scalloped Circle in Blushing Bride and a double stitched circle in white.  I used a self adhesive sheet on the back of Always Artichoke cardstock and cut the sentiment.  I often use these sheets if a sentiment is particularly fine. 

After cutting all the flowers I used a sponge dauber and Blushing Bride ink to carefully tip the edges and centers of all the flowers.
I assembled them on the medallion and glued that and the sentiment to the front of the card.
For my final step I added Wink of Stella and some glitter dots to add a little sparkle!


Thanks for visiting today!  Click here to sign up for email notifications of future posts  (you will be sent an email to verify your address - don't forget this step).  Follow me on Facebook, Instagram and Pinterest.
post signature

5/01/2018

Mother's Day Card

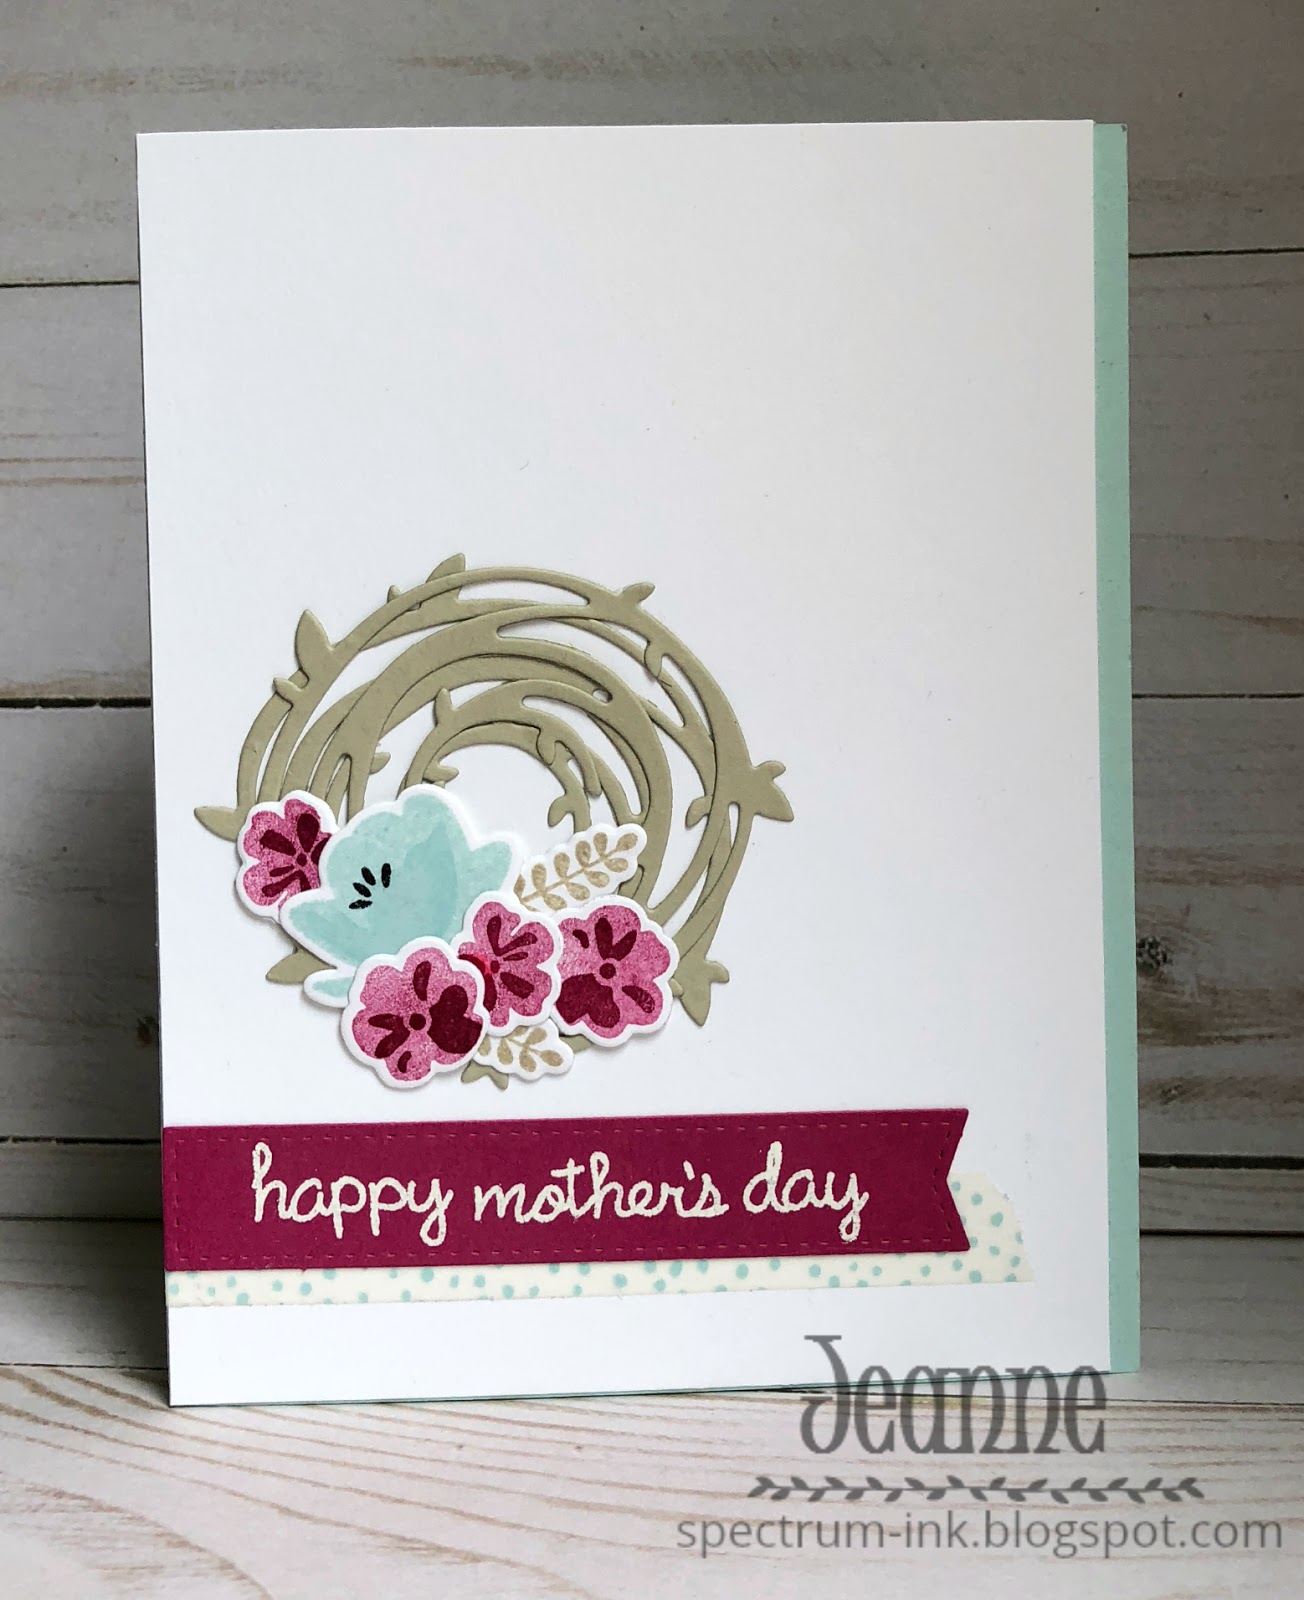
It's May and Mother's Day is just around the corner.  So for the color challenge this week at CAS Colours and Sketches I made a Mother's Day card.
I love the colors Cathy chose - Sahara Sand, Berry Burst, and Soft Sky.  Soft Sky will be retired as of June 1 - so if you love this color now is the time to stock up on cardstock and ink!
 I stamped off  the berry to get two tones but when I tried that with the Soft Sky the second generation stamp was WAY too light.  I ended up stamping the base of the flower full strength and then going over it full strength with the smaller petal.  
This gave some, but not a lot, of contrast.  To enhance the petal I took a very light blue Prismacolor pencil and went over the edges of the petal.  You can see in this photo it adds just a bit of dimension.

Please consider joining us at the challenge this week.  We'd love to see what you make with the colors!

Stamps: Jars of Love
Dies: Swirly Scribbles thinlits, Everyday Jars
Ink: Soft Sky ink pad and reinker, Berry Burst ink pad and reinker, Sahara Sand ink pad and reinker
Cardstock: Soft Sky, Berry Burst, Sahara Sand

Thanks for visiting today!  Click here to sign up for email notifications of future posts  (you will be sent an email to verify your address - don't forget this step).  Follow me on Facebook, Instagram and Pinterest.
post signature