Watercolor Pencil Techniques - Part 1
Happy Monday! This week I'll be posting three cards colored using watercolor pencils. I love watercolor pencils because they give you the look of watercolor with the control of a pencil. For those who aren't comfortable with (or haven't been successful with) traditional watercolor this can be a tremendous help. I'll be giving tips and techniques Monday, Tuesday and Wednesday.
All cards feature Stampin' Up's "Friendships Sweetest Thoughts" stamps; today's card has a traditional watercolor look. I used mixed media paper, but you can also use hot or cold press watercolor paper. To be successful, you really must use one of the papers I mentioned. It has to be able to hold water (lots of it) without pilling. Watercolor paper is best suited for this but I sometimes feel it is a bit rough (especially cold press) for stamping, which is why I will use mixed media paper. And be sure to use a permanent ink so that your stamping doesn't bleed!

To get a good saturation of color, press firmly with the pencil where you want your color to be most intense and darkest. Don't worry about being neat, the areas you color will be blended out. Use a paint brush or aqua painter to pull the pigment into the lighter areas. Your brush should be just damp, not dripping. Too much water and you will wash all the pigment away! It is easier to add water than take it away. Be aware that if you do add too much, you can always blot it up with a paper towel and begin again. What you want to do is use just enough water to smooth out the pencil lines and blend the color to a nice shaded effect. Since it's watercolor, don't worry about a perfectly smooth blend; it's the mottling that gives it that nice painterly look.

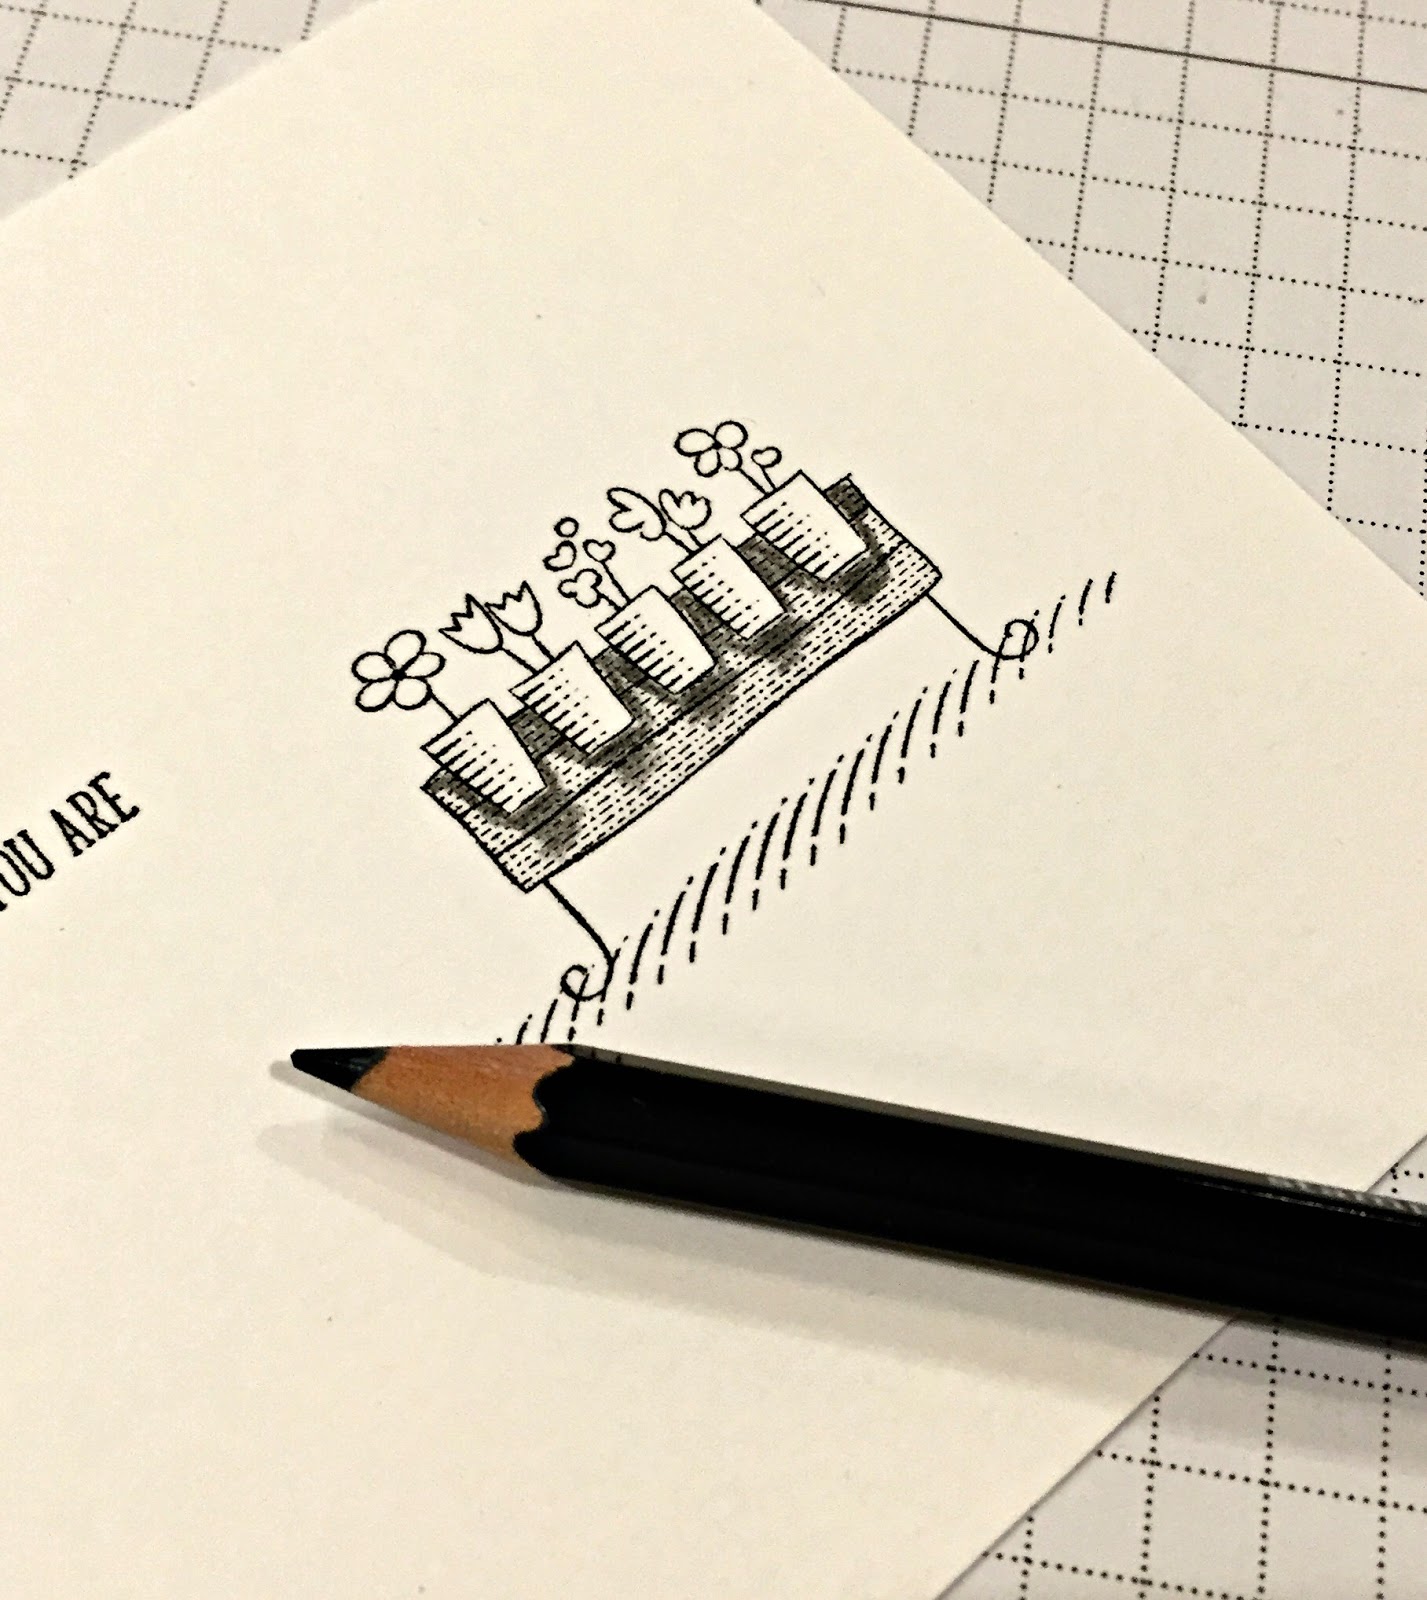
With pencils, your color mixing can be done on the paper using various colors of pencils. To get a terracotta look here, I mixed a black pencil and a pumpkin pencil then added the water. The pots on the left have been blended out; the ones on the right have not.
I enhanced the painterly look by applying water to areas, letting them dry a bit and then going back into the area with more water. You can also shade areas (like the flower centers) by penciling in some color after you've already gone over and smoothed an area with water.
I hope you enjoyed my tips for watercoloring with pencils today. Tomorrow I'll share tips for using a blender pen with the pencils.
Here are the supplies I used. (Please use Hostess code 2BQK2KJZ when
placing an order. If you order $150 of products-before tax and
shipping-do not use the code so YOU get the hostess benefits.)
Stamps - Stampin' Up! Friendship's Sweetest Thoughts
Dies - Stampin' Up! Layering Ovals
Watercolor Pencils - Stampin' Up! Watercolor Pencils
Stampin' Up! Basic Black Archival Ink
Aqua Painters
Thanks for visiting! Follow me on Facebook, Pinterest and Instagram. Sign up for email notifications to be notified of future posts.


No comments:
Post a Comment