Today is very exciting for me! I begin as a Design Team member on the CAS (Clean and Simple) Colours & Sketches blog! I was a guest designer last fall and am now a member of the design team.
This week's challenge is a sketch challenge. Here is the sketch that was posted:
My card today uses the same stamp set as yesterday - Stampin' Up! Friendship's Sweetest Thoughts, however rather than a traditional watercolor look, I wanted a smoother casual look. I thought this went with the look of the stamps and the sentiment that I used (from Bird Banter).
For this image I used Shimmery White card stock NOT watercolor or mixed media paper. I know that yesterday I said you must use one of those, but that was if you are using a brush with water. This card uses a blender pen. For those who feel watercolor is too loose and uncontrolled - this combo of pencils and a blender pen will be right up your alley!
After stamping the image, start by loosely coloring over the branches and leaves with pencil.
Then use the blender pen to LIGHTLY (I can't emphasize lightly enough) go over your pencil to blend it out. The pen has water and glycerin in it and when used lightly will not pill the Shimmery White card stock as it has a coating on it. If you press too hard you will disrupt the coating and the card stock will pill. (You can use mixed media or watercolor paper with blender pens, but I like the smoothness of the Shimmery White for stamping.)
I love this way of working with watercolor pencils and you can see by the first close-up that you can get some nice shading even when you have colors near one another that you don't want to combine. In this case the red and blue. Since you don't have water that is running you can be much more controlled.
If you want to intensify color, try taking pigment directly off the tip of the pencil with the blender pen. You will get some very nice intense shading. To clean the pen tip just wipe it off on scratch paper until it no longer gives any color. The tip may remain stained but this won't effect it's use.
This card uses a sentiment from another set. Mixing sentiments from one set with another set is a great way to get more mileage from them, but you need to be keenly aware of style. Both of the sets I used are lighthearted casual styles and their sentiments work well with the graphics from the other set. I'll discuss mixing and using fonts, sentiments and graphics more in a future post (one could probably write a book on that - I'm guessing one has already been written!)
Here are the supplies I used. (Please use Hostess code 2BQK2KJZ when
placing an order. If you order $150 of products-before tax and
shipping-do not use the code so YOU get the hostess benefits.)
Stamps - Stampin' Up! Friendship's Sweetest Thoughts, Bird Banter
Stampin' Up! Watercolor Pencils
Stampin' Up! Blender Pens
Shimmery White Card Stock
Basic Black Archival Ink
Thanks
for visiting today! Follow me on Facebook, Pinterest and Instagram.
Sign up for email notifications to be notified of future posts!

Happy Monday! This week I'll be posting three cards colored using watercolor pencils. I love watercolor pencils because they give you the look of watercolor with the control of a pencil. For those who aren't comfortable with (or haven't been successful with) traditional watercolor this can be a tremendous help. I'll be giving tips and techniques Monday, Tuesday and Wednesday.
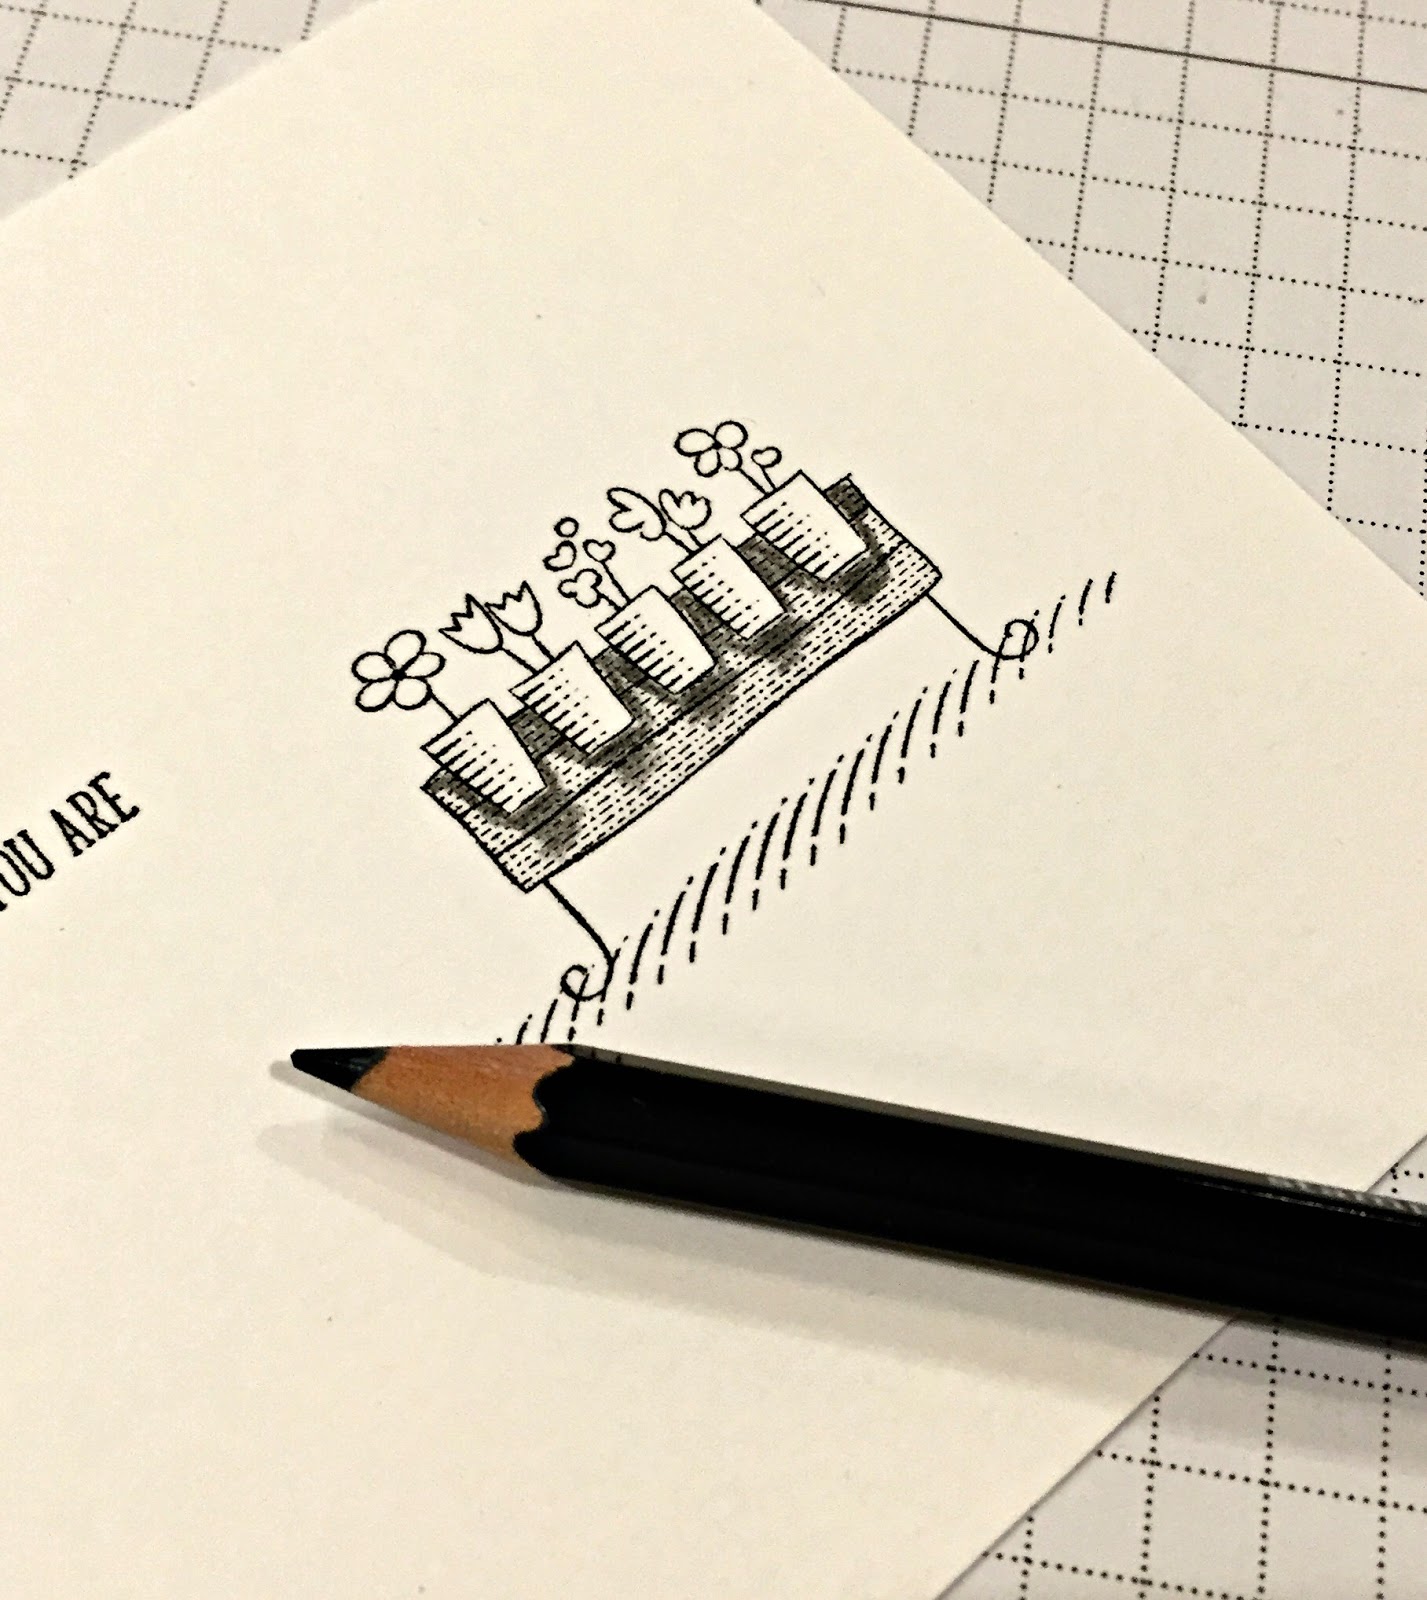
All cards feature Stampin' Up's "Friendships Sweetest Thoughts" stamps; today's card has a traditional watercolor look. I used mixed media paper, but you can also use hot or cold press watercolor paper. To be successful, you really must use one of the papers I mentioned. It has to be able to hold water (lots of it) without pilling. Watercolor paper is best suited for this but I sometimes feel it is a bit rough (especially cold press) for stamping, which is why I will use mixed media paper. And be sure to use a permanent ink so that your stamping doesn't bleed!

To get a good saturation of color, press firmly with the pencil where you want your color to be most intense and darkest. Don't worry about being neat, the areas you color will be blended out. Use a paint brush or aqua painter to pull the pigment into the lighter areas. Your brush should be just damp, not dripping. Too much water and you will wash all the pigment away! It is easier to add water than take it away. Be aware that if you do add too much, you can always blot it up with a paper towel and begin again. What you want to do is use just enough water to smooth out the pencil lines and blend the color to a nice shaded effect. Since it's watercolor, don't worry about a perfectly smooth blend; it's the mottling that gives it that nice painterly look.

With pencils, your color mixing can be done on the paper using various colors of pencils. To get a terracotta look here, I mixed a black pencil and a pumpkin pencil then added the water. The pots on the left have been blended out; the ones on the right have not.
I enhanced the painterly look by applying water to areas, letting them dry a bit and then going back into the area with more water. You can also shade areas (like the flower centers) by penciling in some color after you've already gone over and smoothed an area with water.
I hope you enjoyed my tips for watercoloring with pencils today. Tomorrow I'll share tips for using a blender pen with the pencils.
Here are the supplies I used. (Please use Hostess code 2BQK2KJZ when
placing an order. If you order $150 of products-before tax and
shipping-do not use the code so YOU get the hostess benefits.)
Stamps - Stampin' Up! Friendship's Sweetest Thoughts
Dies - Stampin' Up! Layering Ovals
Watercolor Pencils - Stampin' Up! Watercolor Pencils
Stampin' Up! Basic Black Archival Ink
Aqua Painters
Thanks for visiting! Follow me on Facebook, Pinterest and Instagram. Sign up for email notifications to be notified of future posts.
I'm posting another Valentine today using the Love Postage die. I just love this die; it's one of my favorites and makes a striking simple card!
To begin, I used a white A2 card base (8 1/2 x 5 1/2 scored and folded at the 4 1/4 inch mark.)
I
cut six red stamps and five "love" words from white card stock and one
from black card stock. I saved the little white hearts from the center
of the word.
This card is pretty straightforward but did
require some math (which I did for you) and some measuring. I wanted
the stamps to all line up and have an equal border. Each stamp is 1 1/2
inches so I could make my borders around the edges and in between 1/4
inch. My white panel for the top of the card measures 5 1/2 x 3 3/4
inches.
Look
closely and you will see the pencils lines. I lightly marked
guidelines 1/4 inch on each side and then 2 inches up from the bottom.
(1/4 + 1 1/2 + 1/4)
I
lined up the stamp bases on the top and bottom using the guidelines on
the sides. For the stamps in the middle I used the guideline at the 2
inch mark. In this way I could get everything to line up with minimal
pencil marks. I then very carefully erased the marks.
Before
finishing the stamps and gluing the front panel to the card base, I cut
a strip of red card stock 3/4 x 5 1/2 inches and glued it to the right
side of the card base. I also cut two of the heart borders from the
Sweet Love Borders die. I needed two since they are not quite 5 1/2
inches long. However, they go together seamlessly when glued down.
After
gluing the front panel over the card base with strip, I was left with a
1/2 inch strip of red on the side. I adhered the heart borders to
that, bumped them right up to the edge of the front panel and cut off
the excess. For the "Love" word I used my clear ruler as a guideline to
glue those 1/4 inch above the edge of each stamp.
For my last stamp I used the black "Love" and a white heart.
Dies used: Cottage Cutz Love Postage and Sweet Love Borders.
Thanks for visiting today! Don't forget to follow me on Facebook, Instagram and Pinterest!
Happy New Year everyone! December was a crazy month for me so my blog posting wasn't as consistent as I had hoped. Oh well...life happens, right? Today's card features an adorable new stamp set from Stampin' Up! - Magical Day.
It has a wizard, a dragon, a knight in shining armor, a mermaid and others - so cute and perfect for coloring. And there are matching framelits for the characters!
On this card I used the wizard and colored him with a combination of Stampin Blends and Copic markers. The Blends are limited in their colors but enhance the Copics that I already own and make for easy color matching with Stampin' Up colors. (For information on Copic color matching see my other blog posts.) These images are also good for colored and water color pencils if that is your preferred medium.
After stamping the sentiment in Basic Black, I used the star swirl image from the Christmas set "Star of Light" (I LOVE using sets for multiple purposes!) and heat embossed it in silver to get the burst from his hand. My wizard is holding a large rhinestone. He cut out with the framelits and adhered to the card using dimensional dots.
To finish it I used the Myths & Magic washi tape that coordinates with this set.
I hope you enjoyed this card today. I have a list of supplies with links to my Stampin' Up! web site below. If you order please use Hostess code 2BQK2KJZ. (If you order $150 of products-before tax and shipping-do not use the code so YOU get the hostess benefits.)
When you order $30 of products I'll send you a FREE PDF of project instructions using "Sure Do Love You" and "Heart Happiness" from the new Occasions Catalog. And a $50 order qualifies you to earn a FREE product from the Sale-A-Bration catalog! Details here.
Magical Day Stamp Set - clear mount
Magical Mates Framelits
Magical Day Bundle (save 10%) - clear mount
Star of Light Stamp Set
Myths & Magic Washi Tape
Stampin' Blends
Watercolor Pencils
Silver Emboss Powder
Rhinestone BasicJewels
Thanks for visiting today! Please sign-up for email to be notified of future blog posts (you will be sent an email to verify your address - don't forget this step). Follow me on Facebook, Instagram and Pinterest.
Have a Magical Day!!!
Good morning! Hard to
believe that Valentine's Day is just around the corner. Well maybe it's not that close unless you're a card maker and need to start making your cards! This card is made using only die cuts. As an added bonus, since I cut the pieces out of the various colors of card stock (rather than all white and coloring the pieces) I have enough leftover to make another card in the reverse colors!
For
this card I picked the patterned paper first and chose colors based off
of it. I cut an A2 card base from Very Vanilla card stock, a panel for
the front that is 4 1/4 x 5 1/2 inches from the paper and a panel from
Rose Red card stock using the largest of the Nested Stitched Eyelet
Rectangles dies.
I
used snail adhesive to glue the eyelet panel to the patterned piece. I
placed it at an angle that I felt was pleasing, then used my paper
trimmer to cut the overage.
Very
easy to do. I have also done this with scissors if the amount of paper
hanging off the sides is small. However, I'm not that good with
keeping the cut perfectly straight so I find the paper trimmer works
best for me.
I
cut the mail box and letters from Love Letters and the postmark and
stamp from Love Postage using various colors that matched my patterned
paper.
I
played around with placement before gluing down. I did cut off the
branches from the mailbox post and added another letter and some small
hearts (not shown in this photo).
Dies used: Cottage Cutz Love Postage, Love Letters and Nested Stitched Eyelet
Rectangle
Thanks for visiting today. Please follow me on Facebook, Pinterest and Instagram!
I hope you have a great New Year's holiday weekend filled with fun and some time to be creative!